Replacing the kitchen tap cartridge - Step-by-step DIY Guide
A well-maintained tap is essential
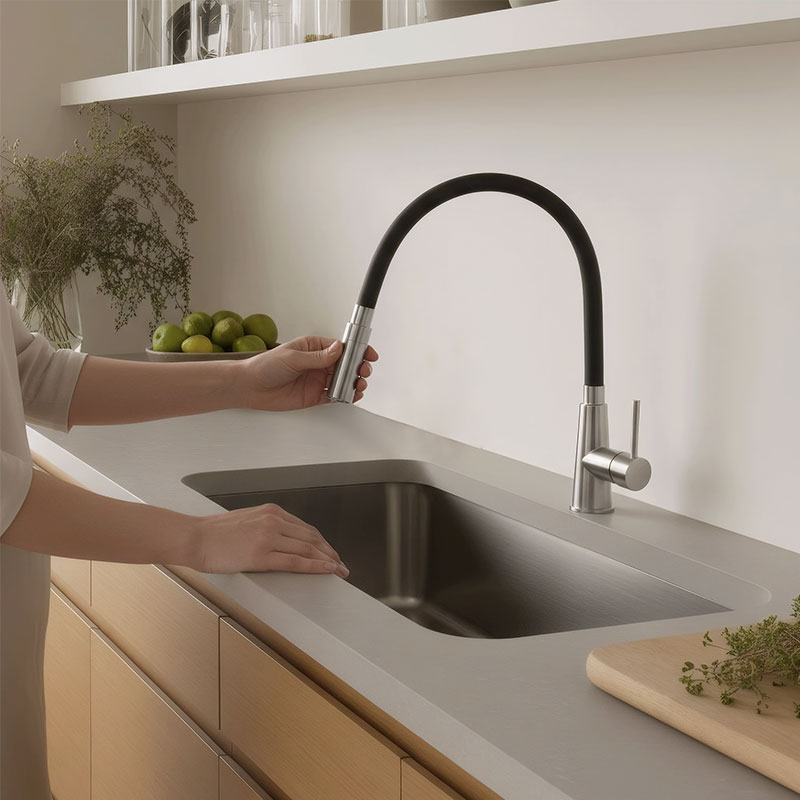
A kitchen tap is one of the most used components in any household. From rinsing vegetables to filling a glass of water, it is part of our daily lives, something we often take for granted. But what happens when a problem arises, such as a dripping tap or reduced water pressure? Often, the interior, also known as the cartridge, is the culprit.
Replacing the inside of a kitchen tap may seem like a complicated task, but it's something you can easily do with the right tools and a clear guide.
This guide offers a step-by-step explanation so you can fix the problem yourself, get your tap working properly and save the unnecessary costs of a plumber.
What Do You Need? Tools and Materials
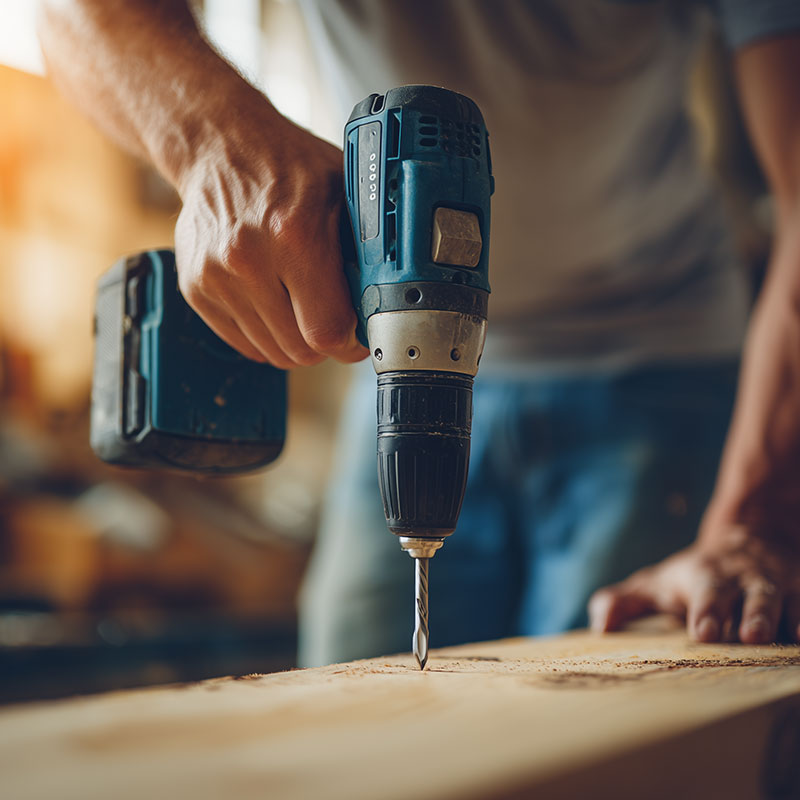
Before you begin, it’s advisable to have all the necessary tools and materials ready to avoid unnecessary interruptions.
Adjustable wrench
Allen key
Screwdriver (flathead or Phillips, depending on the faucet)
A bucket (for any water that may spill)
Old towels or rags to keep the work area clean
WD-40 or a similar lubricant (for stuck parts)
A replacement cartridge suitable for your kitchen faucet
Step 1: Turn Off the Water Supply
The first and most important step is to turn off the water supply. This prevents unwanted water leaks and keeps the work area dry. Here’s how to shut off the water:
Locate the shut-off valves under the sink (there are usually two, one for cold water and one for hot water).
Turn the handles clockwise until they are fully closed.
Check by opening the faucet to ensure that the water has stopped flowing and let any remaining pressure escape.
Step 2: Dismantle the Faucet
Once the water supply is turned off, it’s time to dismantle the faucet to access its internal components.
Remove the handle: Look for a small screw (usually hidden under a plastic or metal cap) that holds the handle in place. Use an Allen key or screwdriver to loosen it.
Release the cartridge: After removing the handle, you will usually see a cap or casing. This piece can often be unscrewed by hand, but if it’s stuck, you can use an adjustable wrench.
If parts are difficult to loosen due to limescale buildup or dirt, apply WD-40 and let it sit for a while.
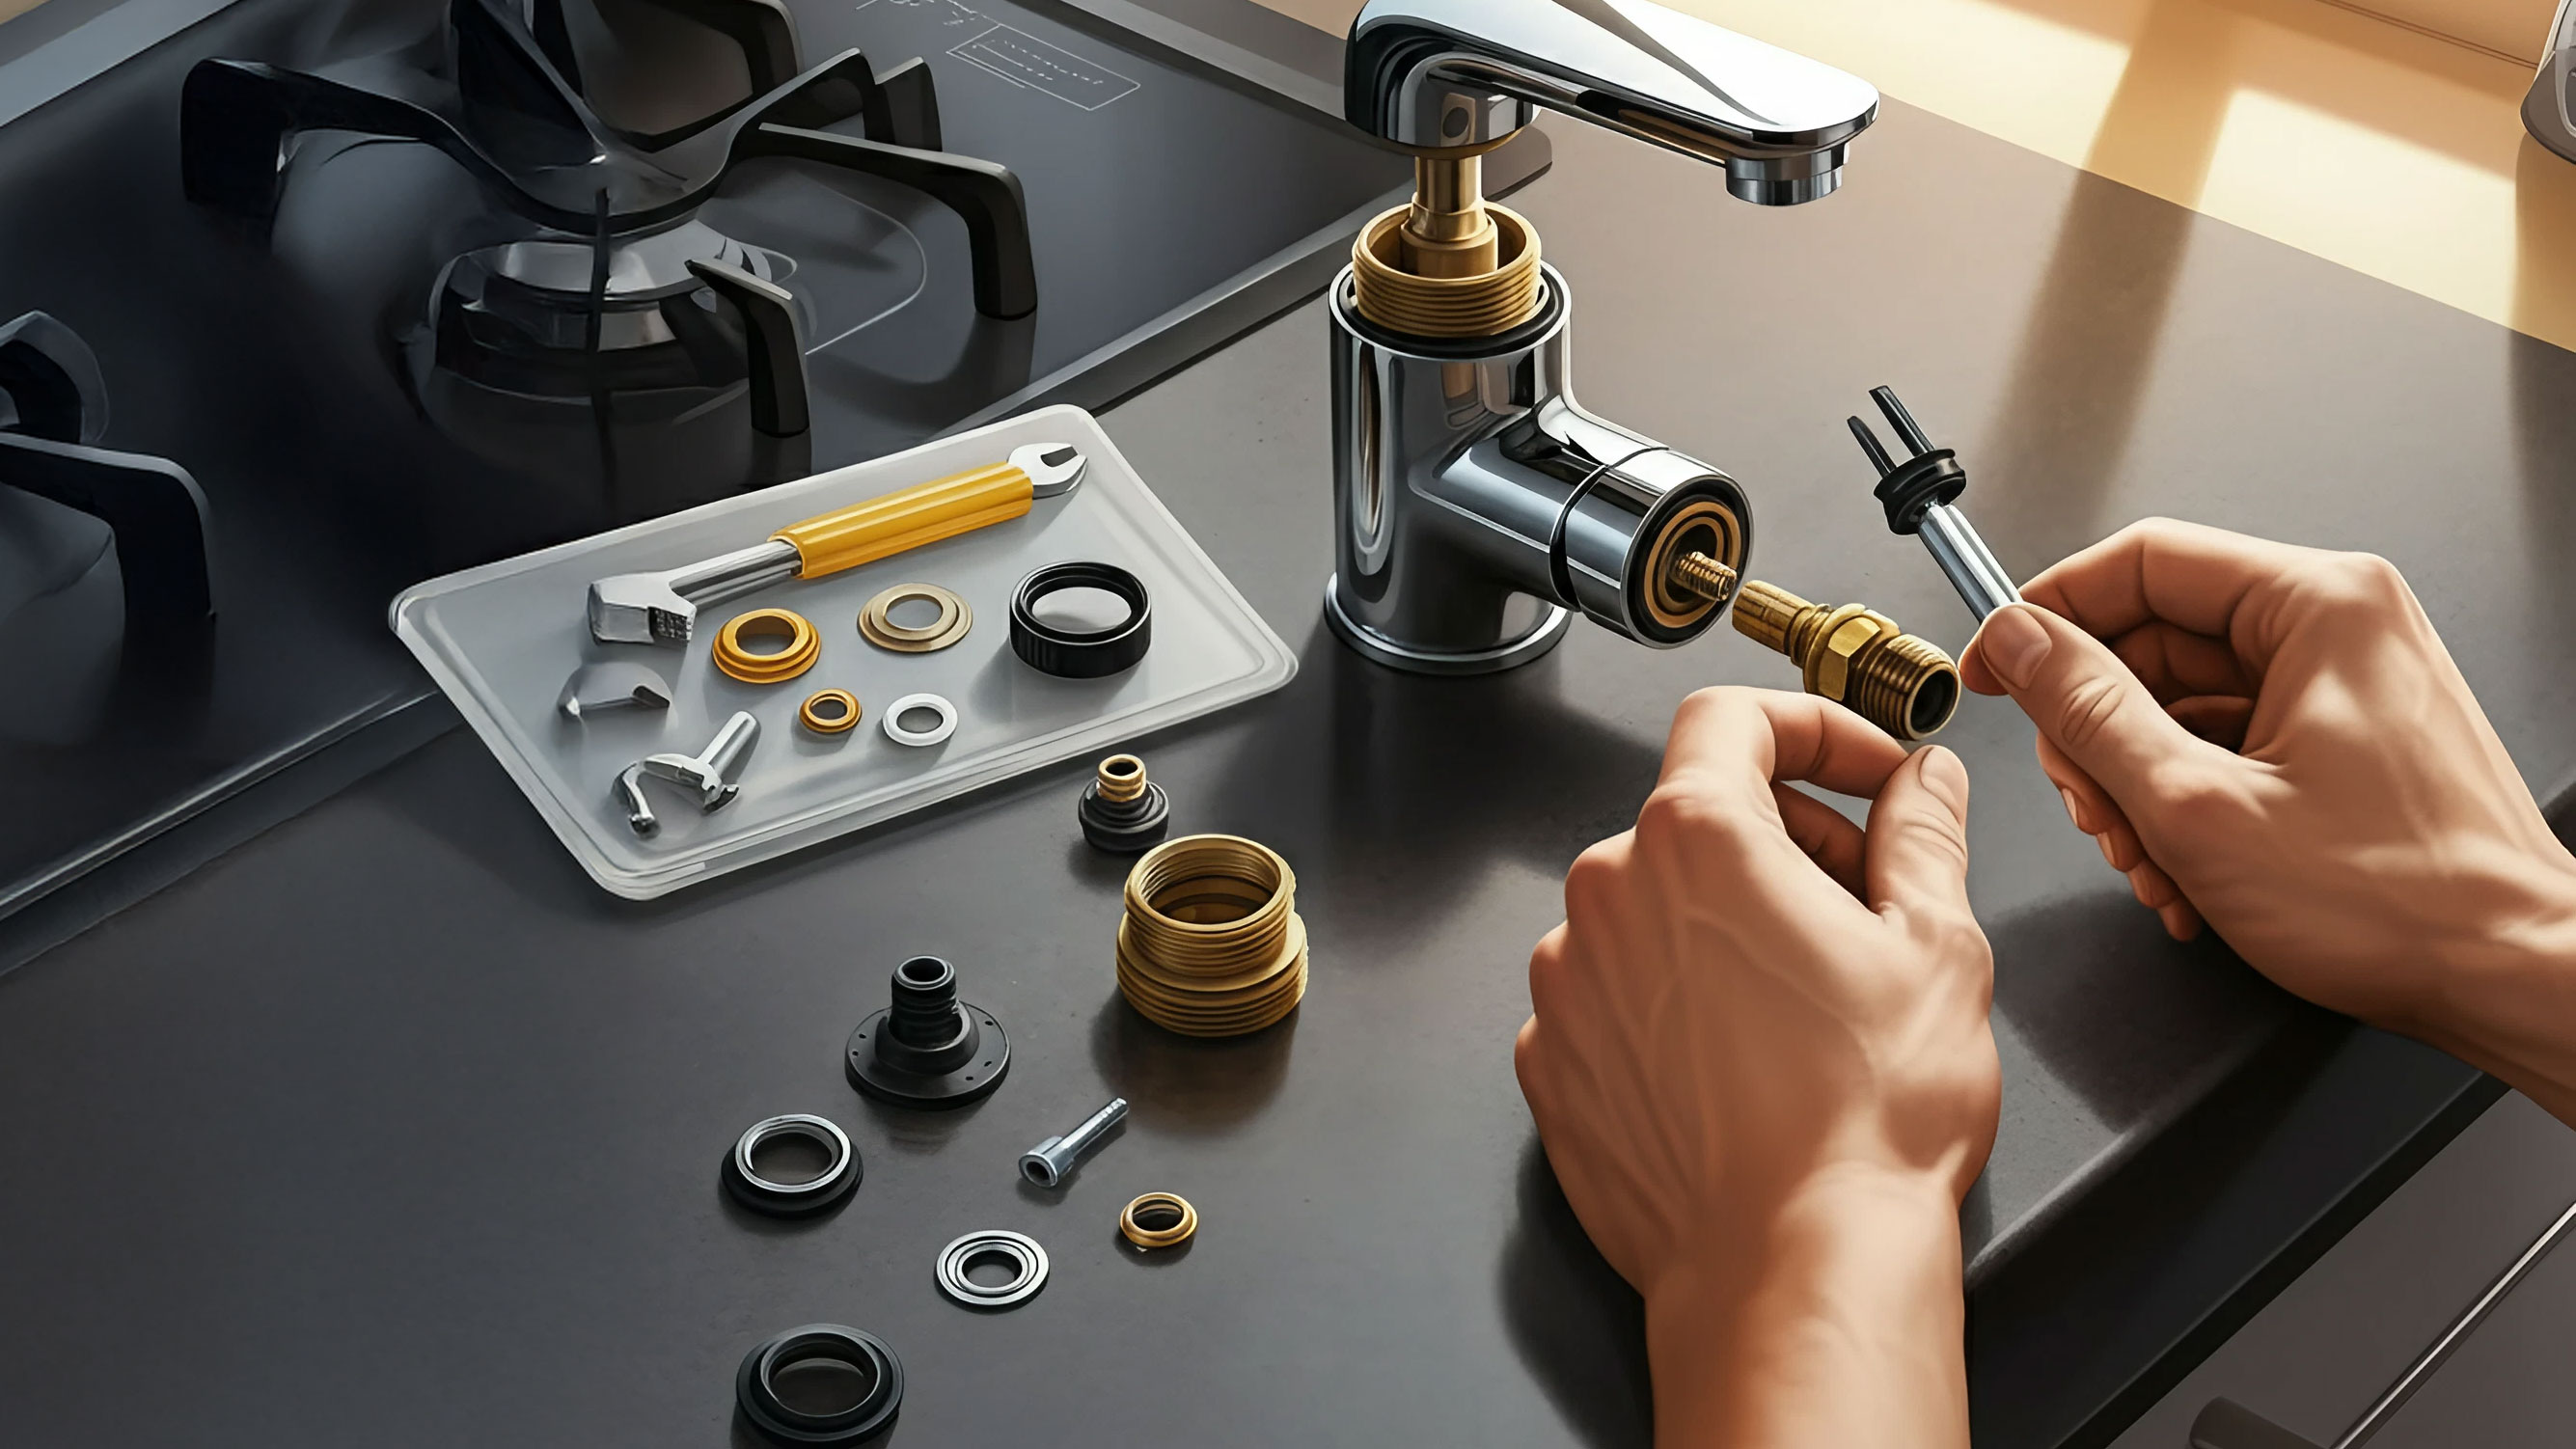
Step 3: Remove and Replace the Cartridge
The interior (cartridge) is now exposed. Here’s how to remove and properly install a new one:
Loosen the cartridge: Unscrew the cartridge using the adjustable wrench. Be careful not to damage surrounding parts.
Inspect the cartridge: Before installing the new cartridge, check if there is any dirt or limescale buildup on the old one. This could contribute to leaks or other issues.
Install the new cartridge: Insert the replacement cartridge correctly according to the manual’s instructions and tighten it. Do not use excessive force to avoid damage.
Step 4: Reassemble the Faucet and Turn On the Water Supply
The hard part is over! Now it’s time to put everything back together.
Reattach the casing and handle: Place the cap or casing back over the interior. Then, secure the faucet handle and tighten the screw firmly.
Check the water supply: Slowly open the valves under the sink. Let the water run for a few seconds to ensure it functions properly without leaks.
Maintenance Tips and Preventing Issues
Now that everything is working correctly, you’ll probably want to avoid these problems in the future. Here are some useful maintenance tips:
Clean the faucet regularly: Use a mild cleaner to remove limescale and dirt.
Prevent limescale buildup: If you live in an area with hard water, consider installing a water softener to reduce mineral deposits.
Inspect regularly: Keep an eye on your faucet. Small drips or signs of wear may indicate a problem that needs fixing.
Safety Measures When Replacing a Faucet
When performing repairs or maintenance on your faucet, it’s important to take the right safety measures. Here are some tips to avoid accidents and damage:
Turn off the water: Make sure the water supply is completely shut off before working on the faucet.
Use the right tools: Choose the correct tools to avoid damaging the parts or injuring yourself.
Be careful with sharp edges: Faucet parts or tools may have sharp edges. Wear work gloves if necessary to protect your hands.
Keep the work area dry: Ensure the environment is dry to avoid slipping or electrical issues.
Consult the manual: Always follow the manufacturer’s instructions for maintenance and repairs.
Keep Your Faucet in Perfect Condition
A properly functioning kitchen faucet makes daily life much easier. As you’ve seen, replacing the internal components isn’t as difficult as it may seem. With a little patience and attention, you can effectively resolve minor problems and keep your kitchen in top condition.
Want more useful DIY and home maintenance tips? Check out our other articles or contact us for personalized advice!
Select your country:
Loriano.eu | Copyright 2006 - 2026 | All rights reserved | Cookies
Shopping cart
Secure payment environment
Easy returns within 30 days
Up to 5 years warranty
Lori 24/7 available
•AI AgentSupport Agent•
No previous conversations yet.
No previous conversations yet.
messages.chat.loading
Live chat is temporarily unavailable
Please contact us via email or phone. Our team will respond as soon as possible.